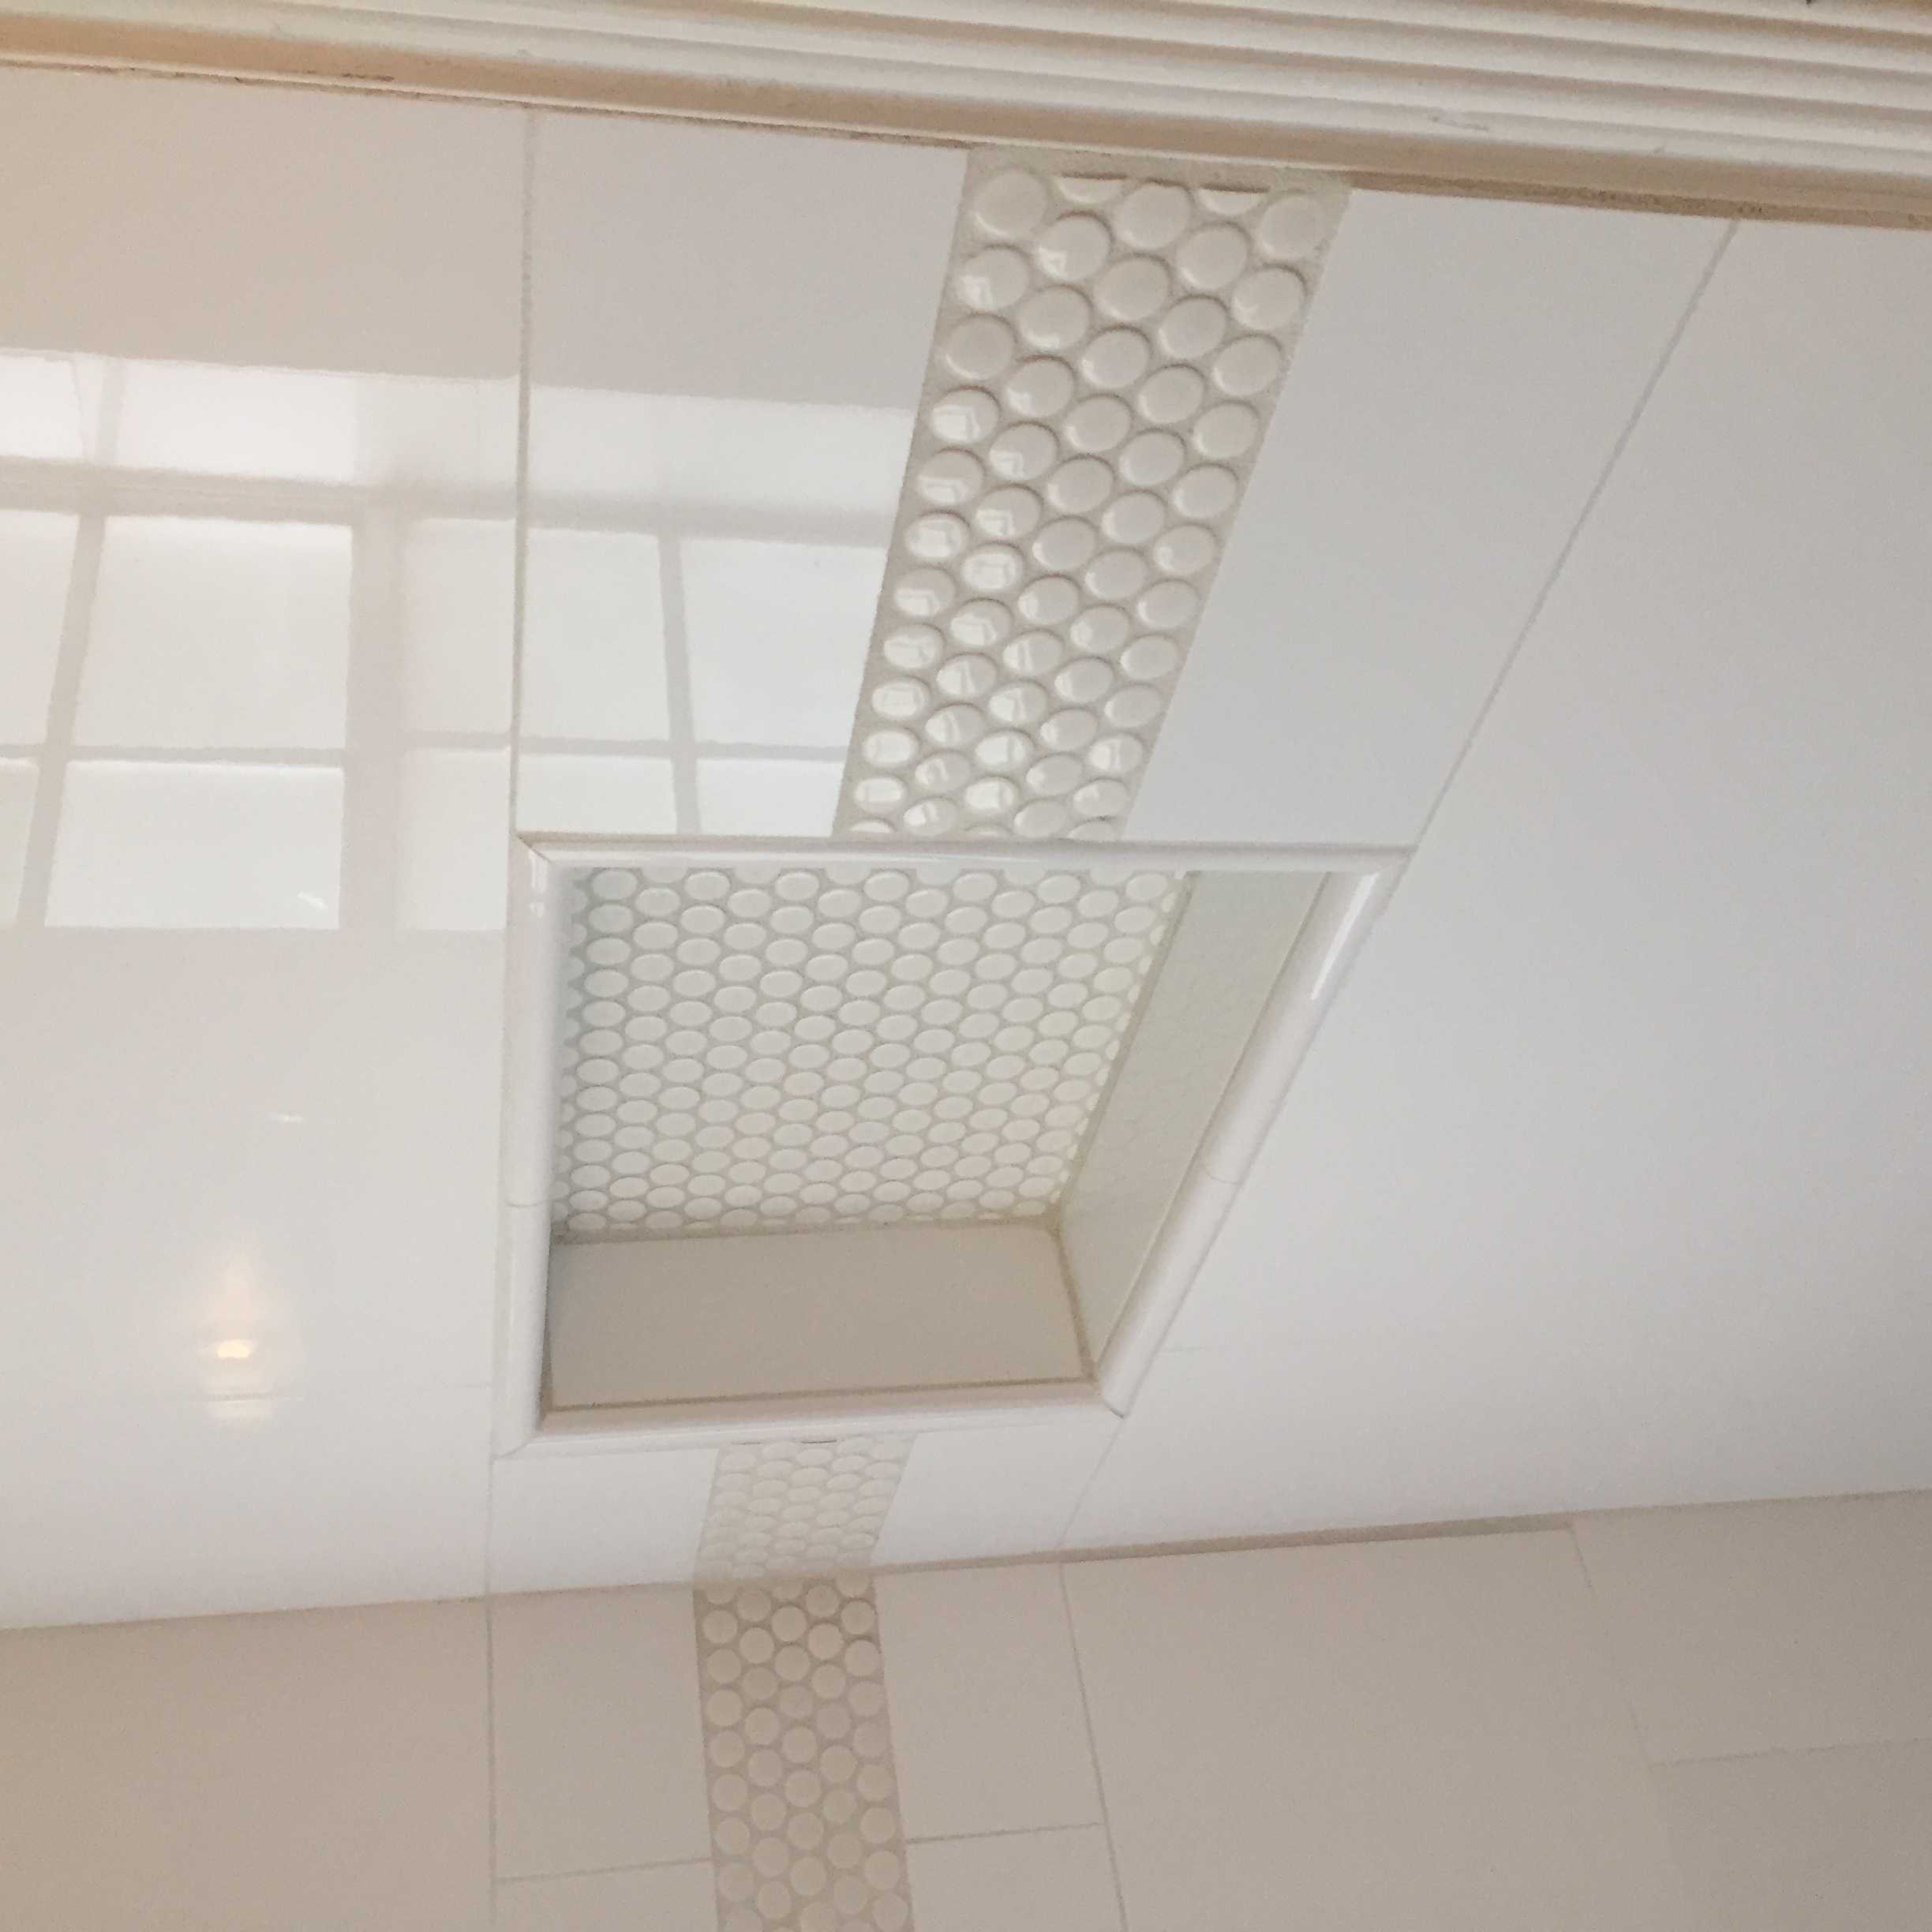
When having your bathroom remodeled, something like a shower niche seems like an easy thing that can be figured out in a couple of minutes right? Well, that isn’t the case most times. If not installed properly, shower niches can leak and what you *thought* was going to be a perfect square is less than perfect. Our competitors aren’t too keen on spending the extra $30 at Lowes to grab an EZ Niche to ensure that the square is perfect and that it will not leak. We however think that an extra 30 bucks to ensure no leaks and perfection are nothing short of a must!
Some other things to consider when planning your bathroom niche:
- The size you want your niche to be. We usually install a 16” w x 11” h niche to an existing wall, allowing the niche to fit between existing studs.
- What depth do you want your niche? They are typically about 3.5 inches in order to be wide enough for most shampoo and conditioner bottles.
- Which wall do you want your niche to be on? It is recommended that niches are not put against an outside wall (if possible). This is because the space for the niche would mean removing some wall insulation. If using an outside wall is a *must* than be sure to make sure your contractor adds some sort of polyurethane insulation because on those super cold winter days the tile could frost up!
- What about tile? You need to keep tile dimensions in mind when planning your niche size. You want to ensure that your tile detailing looks symmetric and clean.
- Waterproofing is a MUST! Please make sure your contractor waterproofs. An easy way to ensure no leakage is to insist they get an EZ Niche (like we always do!)
Any shower remodel can be exactly what you are imagining as long as you consider the little things and of course, find a qualified contractor that you trust and that is willing to go that extra mile for their customers!


